Crafting the Perfect DIY Holiday Ornaments: A Step-by-Step Guide for Festive Decor
- Katie Berger
- Aug 12, 2024
- 3 min read

The holiday season is upon us, and what better way to add a personal touch to your home decor than by crafting your own DIY holiday ornaments? Not only is it a fun activity for the whole family, but it also allows you to create unique decorations that reflect your style and creativity. In this step-by-step guide, we will explore some easy and creative ideas to help you craft the perfect holiday ornaments that will make your home sparkle with festive cheer.
Materials You'll Need:
Before we dive into the crafting process, let's gather the materials required for your DIY holiday ornaments. You can easily find these items at your local craft store or even repurpose some items you already have at home:
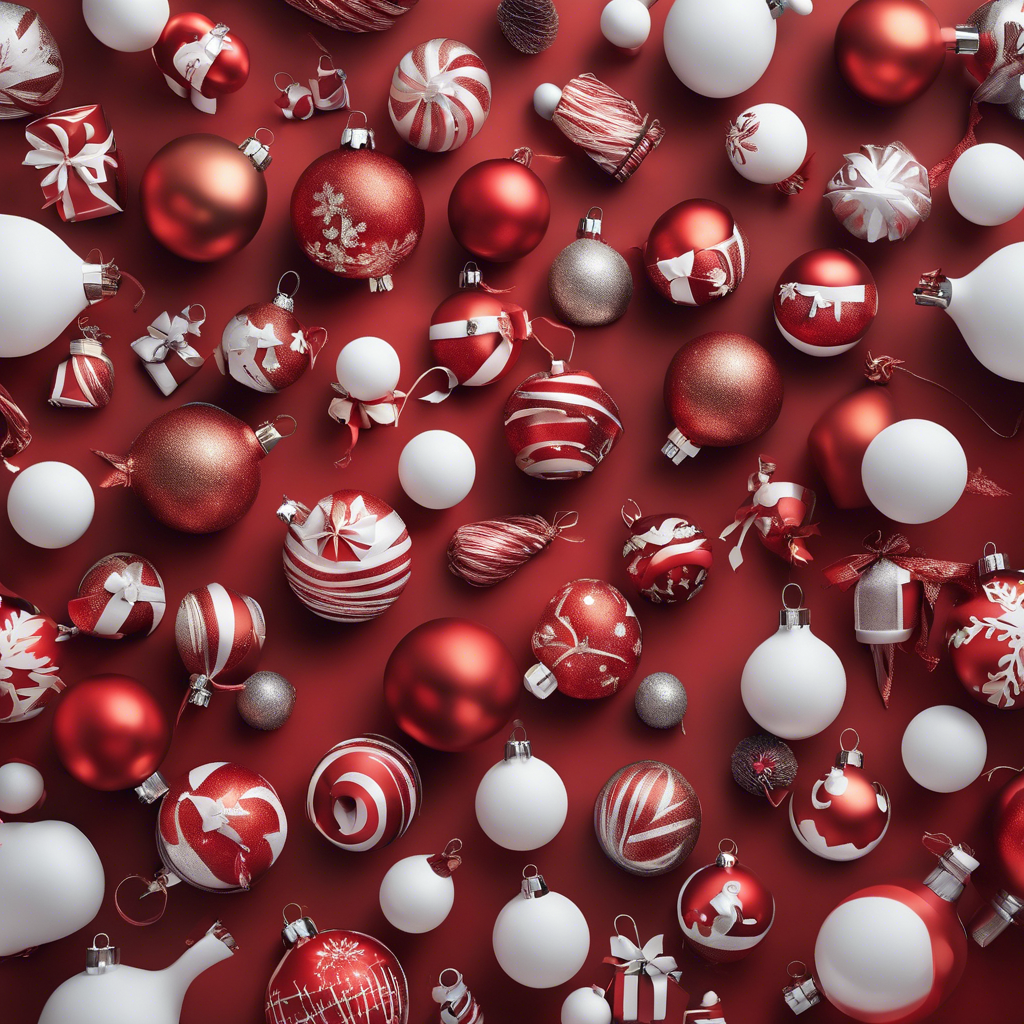
Clear glass or plastic ornaments
Glitter, sequins, and beads
Ribbons and yarn
Paints and brushes
Decorative paper and scissors
Hot glue gun
Twine or string
Any other embellishments of your choice
Don't forget to protect your workspace with newspaper or a drop cloth to make cleanup easier.
Step 1: Elegant Glitter Ornaments
Start by removing the top of a clear ornament and pouring in any color of glitter you prefer. Swirl the glitter around inside the ball until the entire surface is covered. Let it dry before replacing the top. These elegant glitter ornaments will add a touch of sparkle to your tree.
Step 2: Personalized Photo Ornaments
Create memorable ornaments by printing out small photos of your loved ones and trimming them to fit inside the ornament. Roll the photo and insert it into the ball using tweezers. Add some colorful beads or glitter for extra flair. These personalized photo ornaments will be a cherished addition to your holiday decor.
Step 3: Cozy Yarn-Wrapped Ornaments
Choose your favorite color of yarn and start wrapping it around a clear ornament until the entire surface is covered. Secure the end of the yarn with hot glue. Add a small bow or bell for a festive touch. These cozy yarn-wrapped ornaments will bring warmth to your tree.
Step 4: Festive Painted Ornaments
Using acrylic paints, unleash your creativity by painting holiday designs on clear ornaments. You can create snowflakes, reindeer, or even a winter wonderland scene. Let your imagination run wild, and don't forget to add a coat of varnish to protect your masterpiece.
Step 5: Whimsical Paper Ornaments
Cut decorative paper into strips and form them into intricate designs like snowflakes or stars. Insert these paper creations into clear ornaments for a whimsical touch. These paper ornaments are a great way to add a pop of color to your holiday decorations.
Step 6: Finishing Touches
Once your ornaments are complete, attach ribbons or strings to hang them on your tree. Mix and match different styles to create a cohesive yet eclectic look. You can also gift these handmade ornaments to your friends and family as a personalized token of holiday cheer.
Now that you have all the tools and tips you need, it's time to get crafting! Let your imagination guide you as you create stunning DIY holiday ornaments that will be the centerpiece of your festive decor this season. Enjoy the process, make memories along the way, and revel in the joy of handmade holiday cheer.
Let your creativity shine bright this holiday season with these delightful DIY ornaments that will add a personal touch to your home decor. Happy crafting!
Remember, the true beauty of the holidays lies in the love and care we put into our celebrations. Wishing you a season filled with warmth, joy, and handmade magic.


Comments